
RECORDING AND PRODUCTION BREAKDOWN
Introduction
It may seem like a wild goose chase to go into such production analysis to try to identify the singer of Light the Lanterns. But not so. Seeing as we have so little to actually go on in finding her, any and all conjecture about how, when, where this tape came into being is good background for narrowing the search. By the end of this page you will see we have gained much deductive insight into what sort of recording our girl made and where that might have happened to it and her. The sound engineers who performed the Instrumental Breakdown on Page 9 were also tasked to examine the nuts and bolts of the recording and production of the LTL cassette as best they could -- with an eye to any factors which could help pinpoint the recording's years and location.
Of course, the worst factor for accurate analysis of the song was the tape's degradation from whatever had been:
- its Original Master Tape medium; (? 1968)
- the first dub onto the 1/8" mono cassette tape (? 1968) which Windows to Sky found in LA; (~ 1985)
- then his double mono channel dub to MP3; (~ 2000)
- then its upload to YouTube in Sept 2019;
- then a cross-copy of that to Janusz's present day YT channel (2020) -- which is what my sound techies eventually had in hand to start with.
So in the end, it basically came down to each professional's ear and their collective educated guesswork to figuring out what was the most likely equipment in the era of the Original Master Tape.
Dating Baseline
Remember that here we are already committing to a recording window of 1968–69 as Joel Selvin has said. But for greater initial flexibility, I will extend the window to 1966 - 1970 for a wider range of possible equipment and methodology.
* * * * * * * * * * * * * * * * * * * *
RECORDING VENUE OPTIONS
* * * * * * * * * * * * * * * * * * * *
Firstly, the technicians had to decide if they thought it was a studio job or a home job. This choice immediately splits the investigation into four paths of differing probabilities across location, quality, expense, and technical outcome.
OPTION X:
- A high quality, industry recording studio was categorically ruled out on the basis of costs plus the obvious flaws inherent in the LTL Demo Tape. No unheard-of band would ever get booking time in a studio of that quality and then walk home with with such a dodgy recording. So, moving down the scale, these were the options.
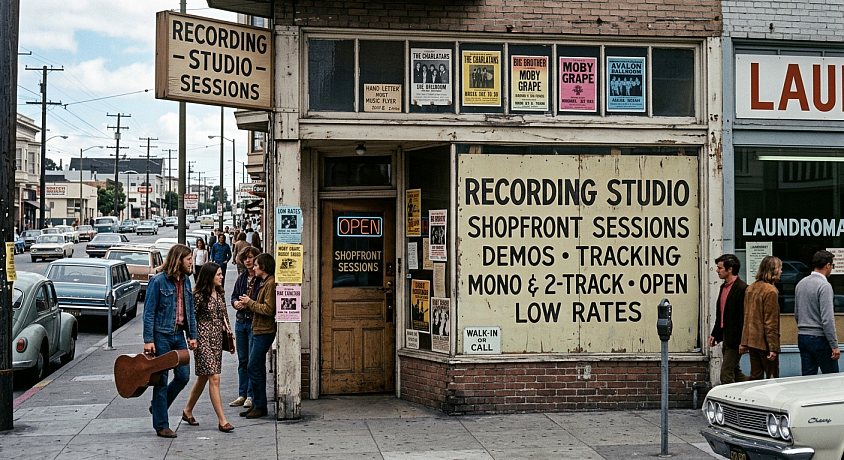
Stereotypical way to get recorded CHEAPLY. (AI generated - but true)
OPTION A: The California Shopfront Studio
- Location: A low-rent, street-level commercial property converted into a rogue studio was extremely common on the fringes of Hollywood, San Francisco, or the East Bay all throughout the 60s and 70s, but they underwent a sharp technological and economic evolution that eventually wiped out the true "bootleg storefront" format by the start of the 1980s. Because the rent was low and the gear was built like a tank, they could charge minimal hourly rates to local bands, soloists, and speculative songwriters who were locked out of the corporate studio systems. These budget options faded out when the new expensive multitracking came in, and home recording became affordably popular.
- Acoustic Environment: These operations consisted of a few distinct rooms situated well back off the street, creating natural distance from the traffic noise. These internal spaces were heavily dampened with surplus military mattresses, insulated walling, and cheap acoustic tiles. Homemade wooden partitions ("gobos") lined with rockwool provided crude separation between players and kept mic-spill to the minimum.
Expense: Cheap commercial tracking rates. Charged by the hour, forcing the band to deliver a rushed, one-two take live performance to keep costs under a tight demo budget. - Recording Gear: Assembled from salvaged radio broadcast components. The console would be a modified American broadcast utility desk, most ubiquitously an Altec 1567A rack-mounted rotary tube mixer (offering 5 inputs and 1 mono output) or an early, basic 8-channel custom assembly. The tape machine would be a second-hand professional transport bought from a radio station upgrade, such as an Ampex 351 or 300 running 1/4-inch tape at 15 ips.
- Outcome Quality: Semi-professional. The tracks have a unified, cohesive room sound with distinct "not too bad" balancing. This setup perfectly matches our engineers' consensus: a quick, cheap, low-budget storefront demo that sounds rough around the edges but maintains clear engineering structure.
- The 1/4" Master Tape was too valuable in those days to let go home with fly-by-night performers. The studio "kept it", which actually meant they recycled it -- not stored it on a shelf as archives.
- A couple of cassettes to take away as demos would thus have been provided to the hapless artists, which is all they would have needed to pass around to prospective hirers. But the A&R big boys would laugh at such a demo.
OPTION B: The Institutional / University Effort
- Location: A campus facility, specifically a University of California project such as the UC Berkeley Music Department or student-run experimental radio spaces (like KALX/Radio KAL during its late-60s infrastructure transition). These institutions were training the "sound technicians of the future", so their equipment would have been top of the line.
- Acoustic Environment: Professionally built campus recital rooms or lecture halls. While not designed specifically for rock tracking, these rooms featured excellent isolation from street noise and high ceilings, creating a live, cavernous acoustic space rather than a deadened box.
- Expense: Zero cost to students, funded entirely by university equipment budgets or executed after hours by student operators sneaking musicians into campus studios.
- Recording Gear: Access to high-end, institutional-grade American hardware far outside the budget of a local band or even a budget studio. The desk would likely be a state-of-the-art Universal Audio (UA) 610 or 100B console module setup. The tape machine would be a professional Scully 280 2-track or an early Ampex AG-440 4-track running 1/2-inch magnetic tape at a pristine 15 ips.
- Outcome Quality: The technical paradox. The recording would benefit from highly expensive preamplifiers, pristine tape heads, and professional dynamics, yet suffer from "shoddy," amateur mic placement and poor session management by inexperienced student operators. The engineers noted this scenario highly explains the clean separation buried beneath an overall unpolished, un-studio-like execution.
- The Master Tape -- 1/2" or possibly 1", was certainly too valuable to let go home with student artists. The Dept "kept it", which actually meant they probably recycled it -- not stored it on a shelf for posterity.
- A couple of cassettes to take away as demos would thus have been provided to the hapless artists, which is all they would have needed to pass around prospective hirers or A&R.
OPTION C: The Home / Garage Session
- Location: A garage, basement, loungeroom, community space up north around Mendocino.
- Acoustic Environment: I did a bit of garage recording in my late teens, the early 70s, and I well remember garages and backyard sheds with floors, walls, and ceilings double-covered with carpet and egg cartons glued on top. ANYTHING to deaden a room for the raw sound and to keep the neighbours happy. Liveness and effects were added later.
- Expense: Negligible. This setup relies entirely on what an amateur band could borrow from other musical friends. Nothing suitable was rentable in those days.
- Recording Equipment: The barest minimum -- home consumer or maybe semi-professional gear, consisting of:
A collection of mics and leads you could borrow for the day.
A 4-channel passive rotary mixer.
A consumer-grade 1/4-inch two-head stereo reel-to-reel deck on which you could do a few bounce-downs. Max speed 7 1/2 ips. - Outcome Quality: High tape hiss, blatant room rumble, high microphone leakage, technical clumsiness. The engineers noted that while Light the Lanterns is unpolished, it displays a level of controlled signal separation and structural balancing better than a raw, domestic garage job could produce. And by the time they dubbed this master down to cassette, it would have sounded so deplorable that it would have been no better than for friends with the worst mono cassette players of the time.
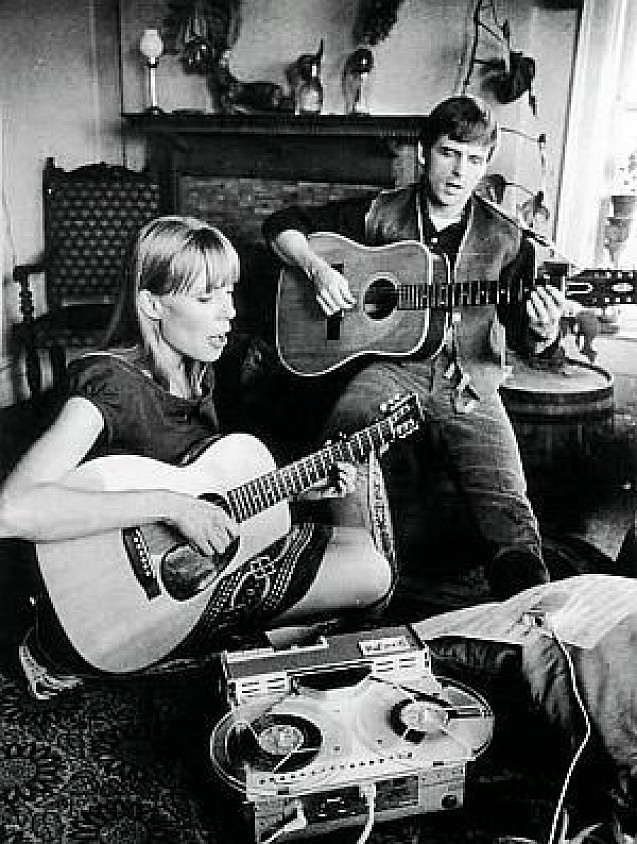
Joni and Chuck Mitchell recording at home 1966.
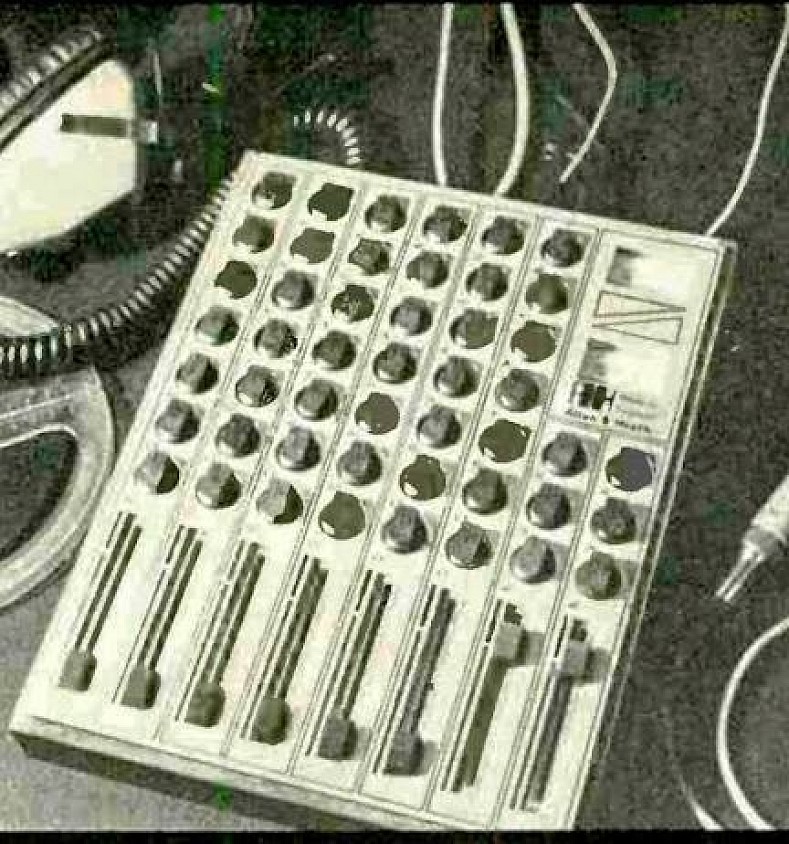
6-into-2 mixer, Altec 1567A, popular for basic semi-pro sessions.
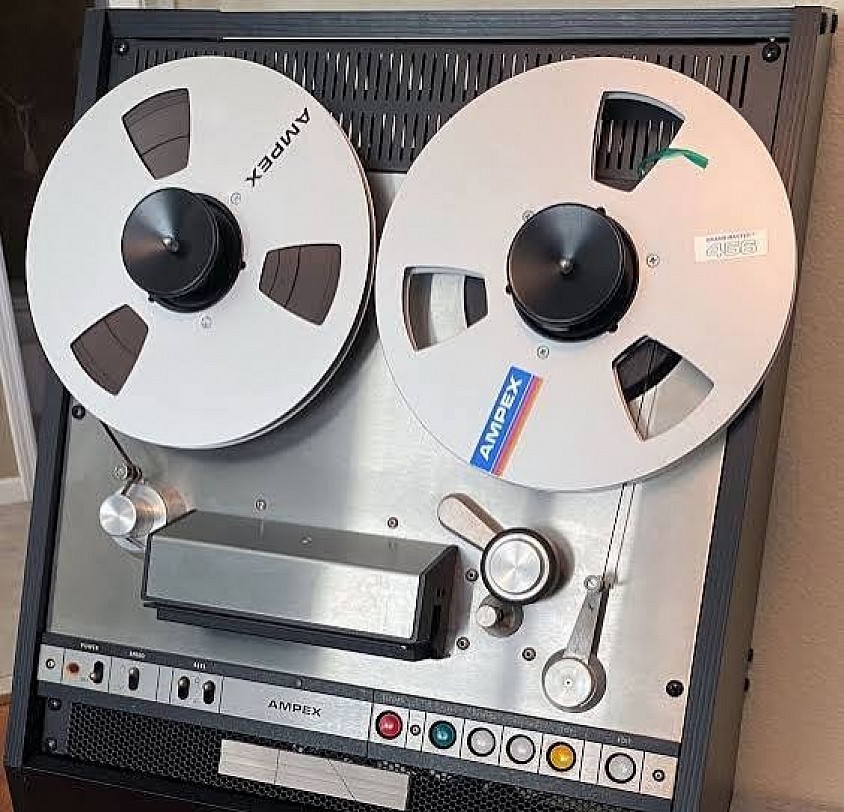
The very popular (but not cheap) Ampex AG-440 Stereo Recorder, professional tape deck 1967 onwards.
* * * * * * * * * * * * * * * * * * * *
Instruments and Channels
* * * * * * * * * * * * * * * * * * * *
The technicians assessed the number of possible mixing and recording channels inside the song. They speculated on the likely recording equipment used -- judging from the audio results they were hearing through top-quality speakers and filtered through audio processing software ... well above my pay grade.
Total Confirmed Instruments
In total there are a maximum of 6 or 7 possible line inputs:
- Drums: (Snare and bass only) 1 mic each drum, or a single overhead to the mixing desk equals 1 or 2 lines.
- Bass guitar: 1 mic from amp to desk.
- Rhythm acoustic guitar: 1 mic close-in from sound hole to desk.
- Lead guitar: 1 mic from amp to desk.
- Main vocal: 1 mic straight to mixer.
- Harmony vocal: 1 mic channel to desk.
Some might think—"But why not patch the instruments directly into the mixing desk?" Answer: (1) Because that would then require headphone foldback channels, adjusted for each player. I'd say that's way too tricky for this little amateur session. (2) Musicians like to get "their sound" from the combination of their instruments and their amp's speaker. The desk then records, with flat EQ, exactly what the artist produces via a quality microphone and line in.
Given the imperfections within the final master, they concluded it was improbable that this band had 8 mixing channels for one straight live take. Besides, there were 2 vocals to do. Therefore, if they only had a 4-channel mixing desk, they were forced to track the 6 or 7 instruments across two separate live passes by utilizing a strategic multi-track bounce-down.
The engineers deduced that this semi professional recording had been made in either of 2 possible ways:
The Discrete Two-Pass Tracking Method: Firstly, the 2 drums, bass, rhythm guitar, and maybe primary voice were mixed live and recorded directly to one master channel. The second laydown was the lead guitar and harmony vocals onto the second master track ... including some accidental tambourine mic-spill. Those two laydowns would go easily onto a 1/4-inch, 2-channel reel-to-reel tape recorder. From that final master were dubbed the cassette demo tapes.
The 4-to-2 Multi-Track Bounce: Alternatively, 4 primary channels were recorded onto the 2 master tracks of a machine, and then bounced-down to a single track on a second deck before another 2 or 3 channels were overlaid on top.To this day, I wonder what happened to that master tape. Did it get wiped to be recycled by its owner once the demo cassettes were made? Or is it languishing some 55-58 years later in some granny's attic in a box of youthful mementos?
* * * * * * * * * * * * * * * * * * * * * *
The Noise Reduction Timeline
* * * * * * * * * * * * * * * * * * * * * *
When I emailed with the tape's finder, he said he first found the cassette tape in the mid-80s and only digitized it to MP3 around 2000. He didn't upload it to YouTube until 2019. So the original song recording is now a 3rd generation low-fidelity copy of a 15 year-degraded low-fidelity source.
The total tape hiss on the recording we ended up with in 2019 would have been the sum of each generation's noise reduction, or lack thereof.
Dolby A (Professional): Introduced in 1965, but restricted purely to elite commercial facilities due to equipment costs. Independent shopfronts and campus labs could not afford multi-channel professional Dolby rigs.
Dolby B (Consumer): Introduced for high-end open-reel recorders in 1968, but didn't become a standard feature in consumer cassette decks until the early-to-mid 70s.
Dolby C: Only arrived in high-end consumer equipment in 1981.
Therefore, the distinct, heavy analog footprint on Light the Lanterns confirms a bare, un-decoded tape path tracking directly to a raw magnetic oxide layer with no dynamic noise expansion applied.
* * * * * * * * * * * * * * * ** * * * *
Conclusions - Putting It All Together
* * * * * * * * * * * * * * * ** * * * *
Most Likely Recording Venue
- In my opinion, the strongest clues above point to a campus recording. This shifts the search away from standard commercial music studios towards university alumni records, student-run radio logs (like KALX at Berkeley), or campus music department facilities within our window of 1966-1970 at the latest.
- If the equipment points to a budget commercial shopfront studio, the 60-year-old search targets where short-lived bands left zero paper trails would be impossible.
- Framing the tape as a cheap-as-needed demo tells us about her intent. She wasn't making a finished record for commercial radio; she was capturing a rough sketch to hand to a venue booker, a manager, or a friend. This suggests exactly how the cassette ended up in a box decades later.
The Light the Lanterns recording was a snapshot of a specific analog moment in time, captured on equipment that was common and accessible around 1968 to 1970. While the cassette was discovered in the mid-80s, the sonic fingerprints left on the only demo copy we have points to a session that occurred some 15–18 years prior.
Light the Lanterns is not an 80s production or even a 70s one; it is a late-60s amateur effort that simply took the long way to find its audience.
